 to make your very first survey.
In this lesson you will log on to Limesurvey and make your first survey. Let's go to the Limesurvey administrative interface. You may want to open it in a second browser window. (right click -> Open Link in New Window)
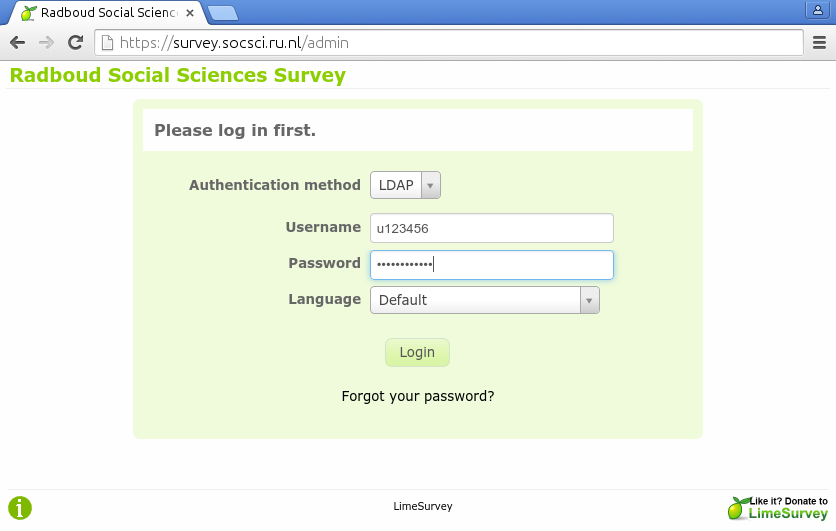
Log on with your university number. Usually this will start with a "u" for employees/grad students or an "s" for undergrad students. This tutorial assumes that you are using the English language interface. If your operating system has another language then you must select "English" as interface language here. Chosing the "Default" language will present you with an interface in your own language. The interface language is independent of the language of the surveys that you make. You will select the survey language later.
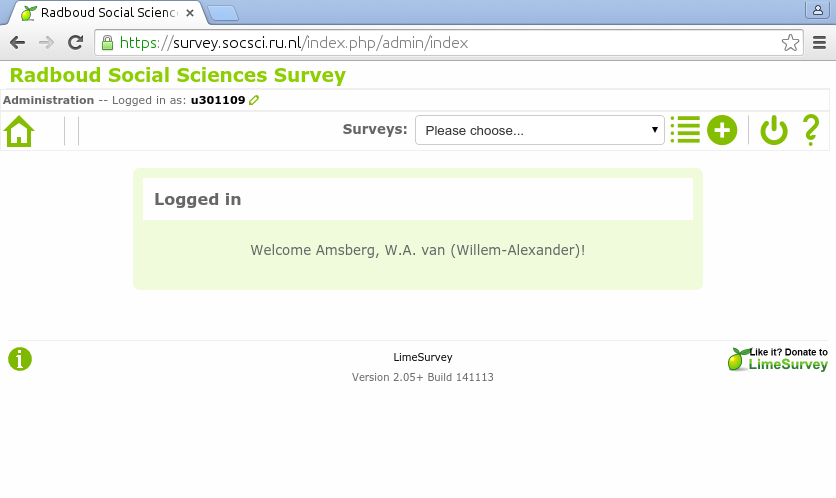
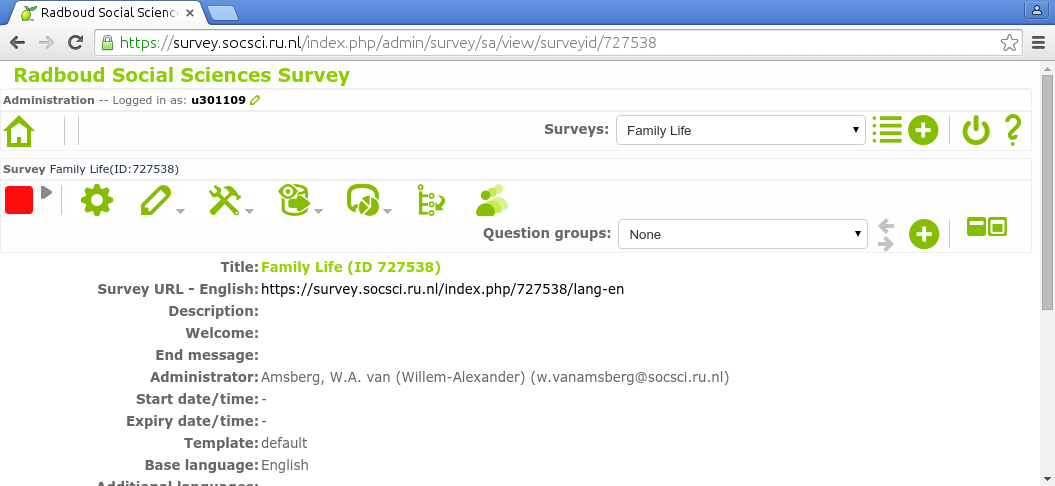
Now you will see the welcome screen. Make sure that your name (center) and university number (top left) are correct. Click the circled plus icon to make your very first survey.
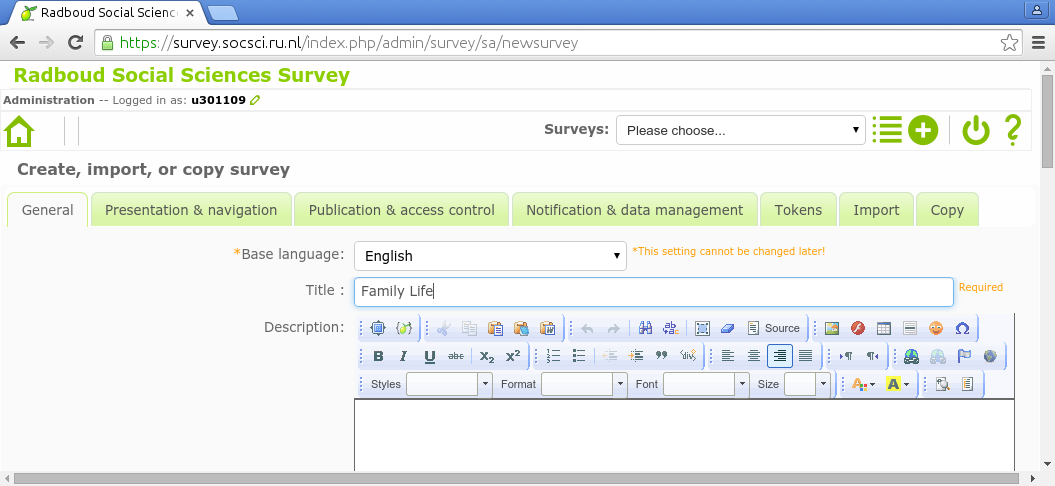
Your survey needs a name. Let's call it Family Life. This name will appear in your list of surveys in the future. Make sure you select English as the base language of your survey. If you select another language now, you will not be able to complete this tutorial.
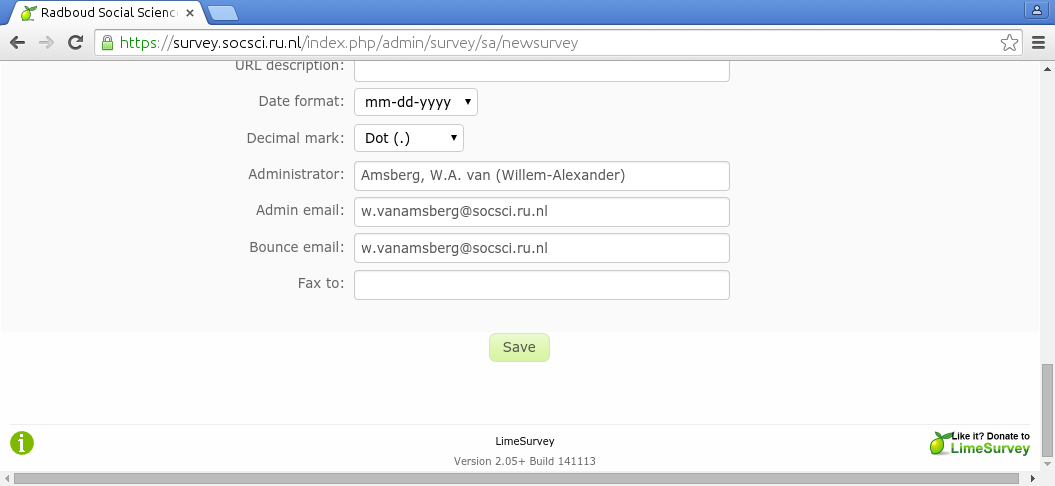
Now scroll to the bottom of the page. Check your e-mail address. Click Save to save your your very first survey.
You just made your first survey. It doesn't contain any questions yet. It cannot be started, but it has a name and it was succesfully saved on the server. Congratulations.
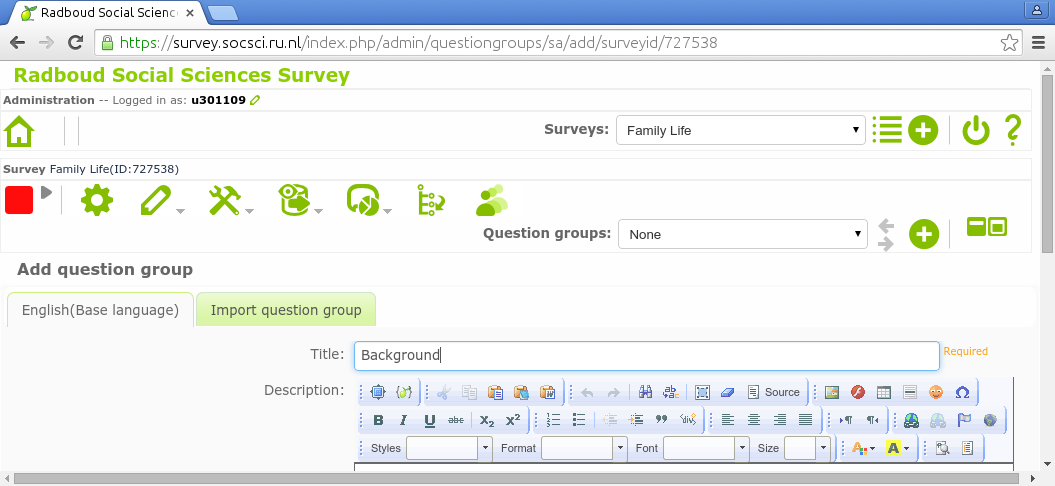
Surveys contain questions. These questions are grouped in question groups. For now you can think of a question group as a page. The survey participant will see one question group at a time. If you look at the screen that appeared after you saved your survey, then you will note another circled plus icon . Click it to create a new question group.
Just like the survey itself, the question group needs a name. Call it Background. It will contain some background questions before the survey proper starts.
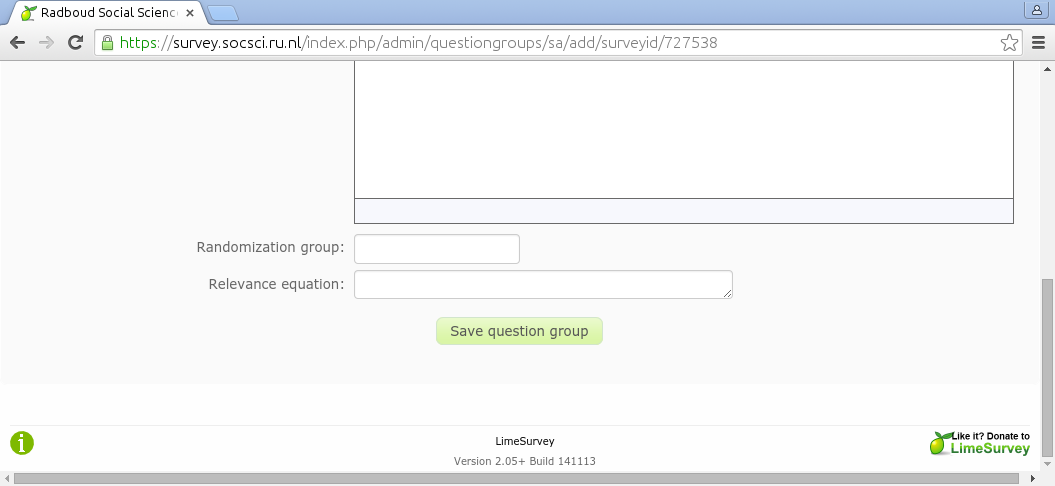
Now scroll to the bottom of the page to save your your first question group.
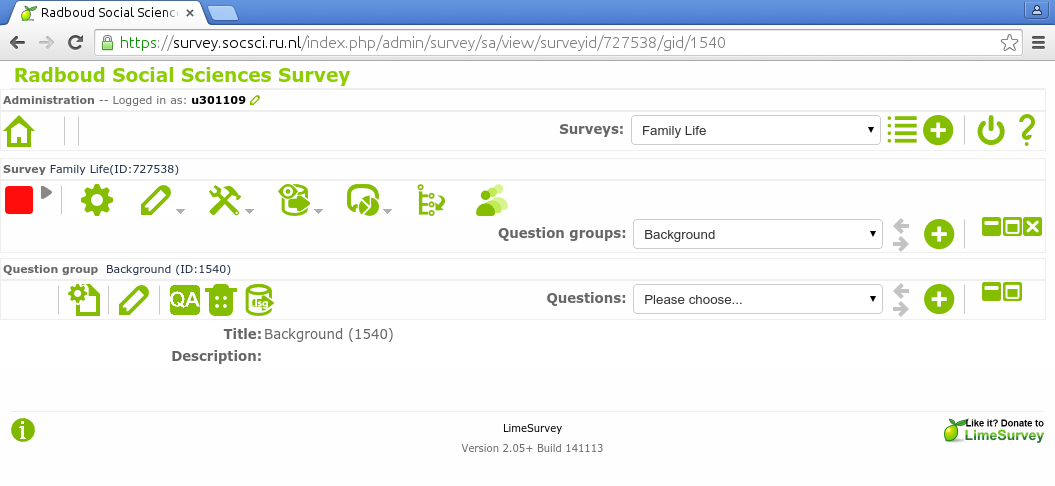
If you look at the screen that appeared after you saved the first question group, then you will note yet another circled plus icon , the third one. Click it to create a new question.
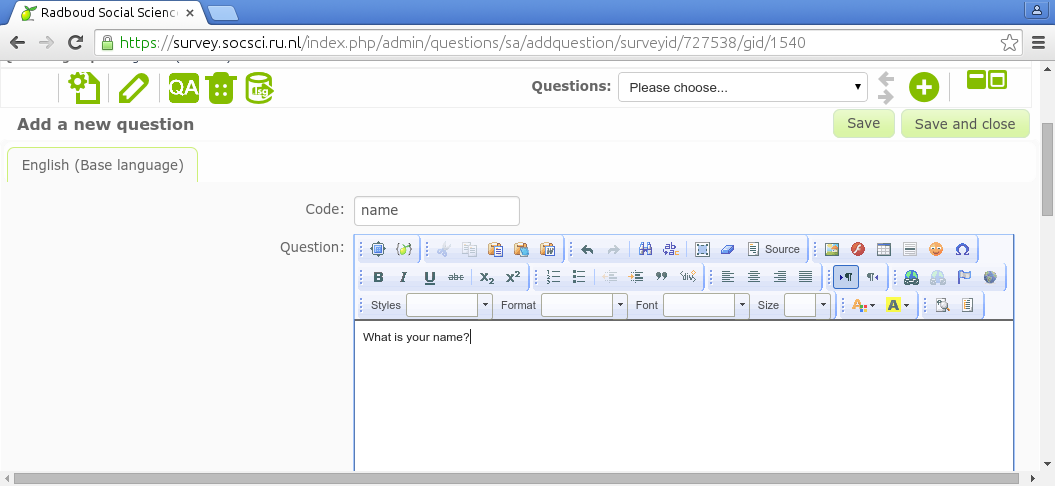
The page that you see now will let you create a question. The question code will later appear as variable name in your data file. Type for instance name. The rich text editor below it allows you to type a question. You will later see that it can do much more. You can change text font and appearance with it. You can use it to insert tables, pictures, sound and video. You can even use it for inserting complete interactive apps. Right now you will simply type the question: What is your name?. Press Save and close to complete your first survey.
Did you notice the three rows of icons? If a survey has been selected, there is a survey toolbar on top. If a question group has been selected, there is a question group toolbar below it and if a question has been selected, there is a question toolbar below that one. Some icons are present in several toolbars.
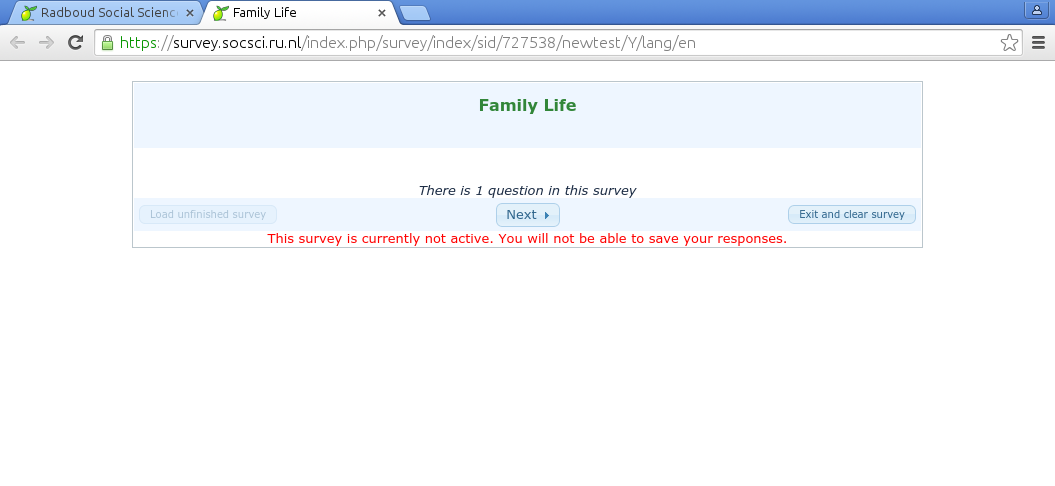
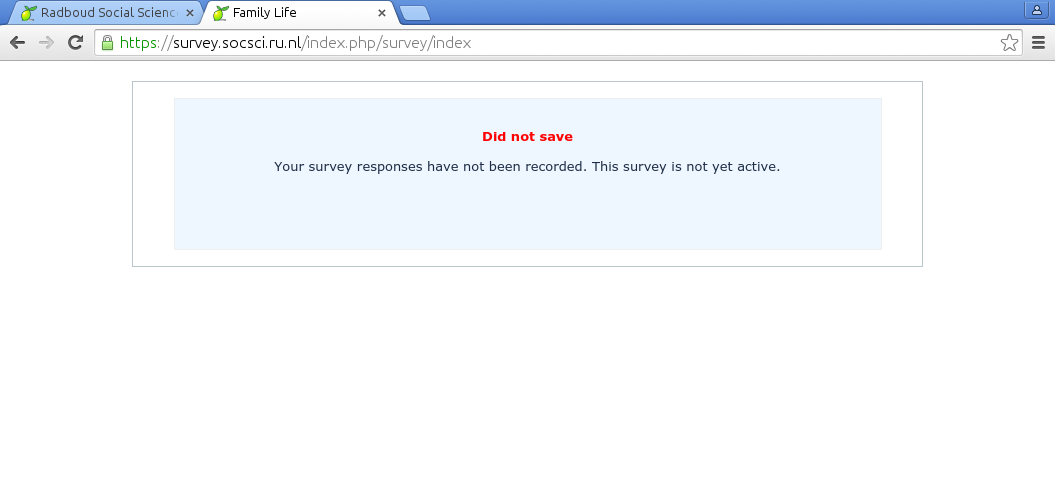
Press the gear  icon for a test run of your first survey. No data will be saved because the survey has not been activated yet. The survey contains a welcome page, a question page and a goodbye page.
Press next after reading to introduction text of the survey
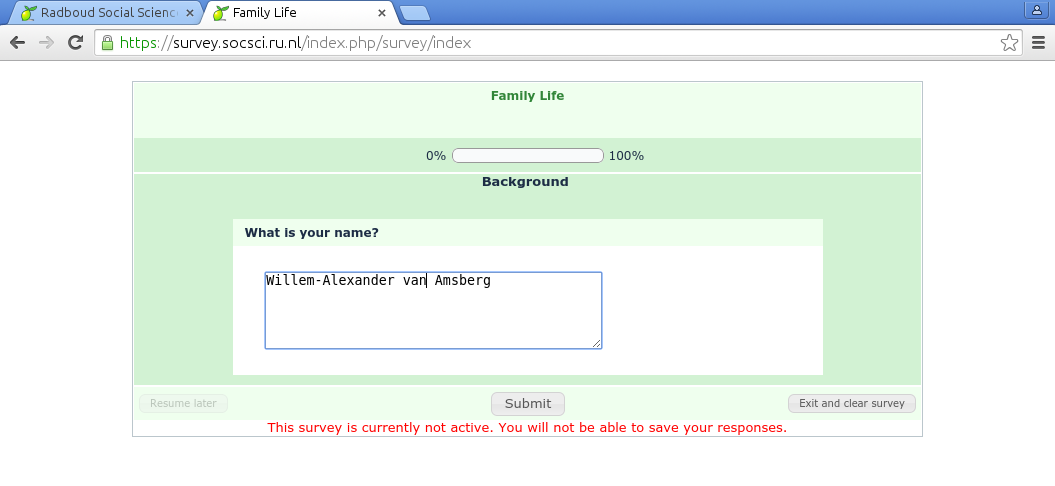
Type your name. Press submit after completing the survey
You can close the browser tab after completing the survey.
Continue with the next lesson