Programming in JavaScript with jsPsych, Hello World
First web page
Welcome to this tutorial. We are going to write an online web experiment. To do this we must first write a web page and to do that, we must first write. Please find a text editor that you are comfortable with. It can be very simple like Microsoft Notepad or Apple TextEdit, somewhat complicated like Notepad++ (which is available on all lab computers), even more complicated like Visual Studio Code, or a bit Geeky like Vim (help Uganda). The screenshots in the examples will use Kate.
Open your editor and type (or copy, but better type) the following text. Make sure you do not make any typo's. Computers are very picky.
<!DOCTYPE html>
<html>
	<head>
		<title>Hello World!</title>
	</head>
	</script>
</html>
Now save the file. Make a new folder called experiment. Make a file in this folder called index.html
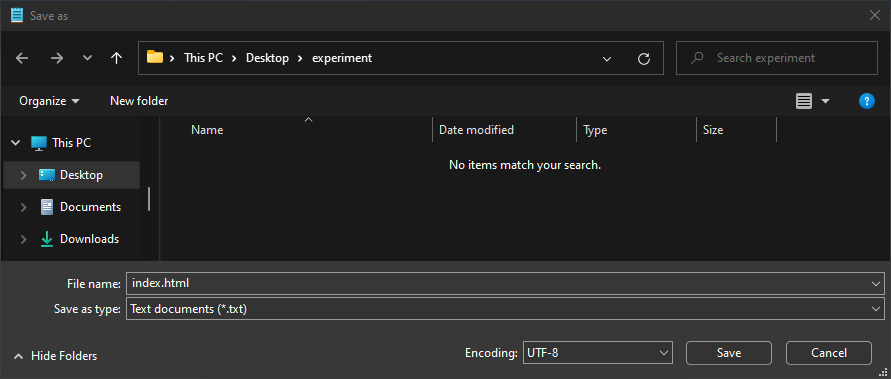
Now open File Explorer and open the file

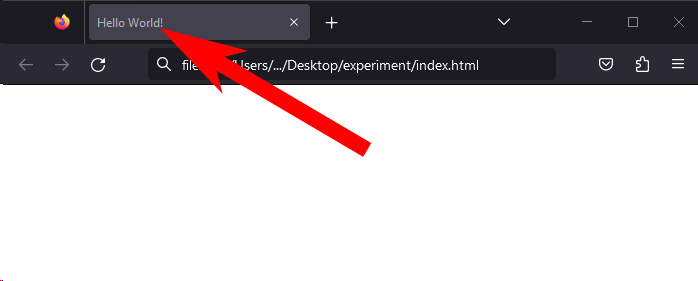
Your computer will open the file with your default web browser. It is not so relevant which one it is, Firefox, Chrome, Edge or Safari. For the screen shots in the tutorial I will use Firefox. You should now see the file, which is completely empty, but does have a title. A title that you gave it: Hello World! Congratulations. Ypu just made a web page.
First trial
Having an empty web page is a start, but we want to build an experiment.
<!DOCTYPE html>
<html>
	<head>
		<script src="https://unpkg.com/jspsych"></script>
		<link href="https://unpkg.com/jspsych/css/jspsych.css" rel="stylesheet" type="text/css">
		<script src="https://unpkg.com/@jspsych/plugin-html-keyboard-response">></script>
	</head>
	<script>
	jsPsych = initJsPsych({
		on_finish: () => jsPsych.data.displayData(),
	})
	hello = {
		type: jsPsychHtmlKeyboardResponse,
		stimulus: 'Hello world!',
		choices: "NO_KEYS",
		trial_duration: 5000,
	}
	jsPsych.run([hello])
	</script>
</html>
Perhaps you can have a look at the jsPsych tutorials before you continue with the tutorial on how to save data.
next - Chapter 2, saving data